
아래 코드는 정리가 필요하다 하지만 간단하게 우선 설명을 하면,
기본적으로 먼저 import를 한다. flask, 제이슨 파일, 통신, db연결에 필요한 것들이다.
import pymysql
from flask import Flask
from flask import request
from flask import jsonify
from flask import redirect, url_for, send_from_directory, render_template
import json
다음은 db연결을 위해 필요한 것들이다. 아래 빈 부분은 aws db 아이디 비밀번호 이름 등을 채우면 된다.
conn = pymysql.connect(host='database-moa.cbmghsj09tes.ap-northeast-2.rds.amazonaws.com',
                        user='',
                        password='',
                        db='',
                        charset='utf8')
curs = conn.cursor()

if conn.open:
    print('connected');
다음은 flask에서 안드로이드 스튜디오로 보내는 코드이다. 내가 짠 코드는 request.get_json()으로 안드로이드 스튜디오에서 보낸것을 받고 그것을 content에 저장해준다. 그리고 content라는 json형식을 return 값으로 주면 받은걸 그대로 다시 안드로이드 스튜디오에게 보낼수 있다. 또는 아래 코드처럼 받은거 말고 새로운 json형식을 flask가 만들어서 보낼수 있다. 내가 실험해본것은 첫번째 결과 값이다.
app = Flask(__name__)

@app.route('/test', methods = ['POST'])
def postJsonHandler():
    print (request.is_json)
    content = request.get_json()
    print (content)
    id = content['id']
    print ("#####id:",id)
    sql = "select * from users"
    curs.execute(sql)
    rows = curs.fetchall()
    print(rows)
    data = {'id':'yebin'}
    return json.dumps(data)

app.run(host='0.0.0.0', port= 3306)
이제 ok http를 이용해서 안드로이드 스튜디오에 background안의 try문을 고쳐서 코드를 작성하려고 한다.
목표는 json형식으로 id, hi를 flask서버로 보내고, id hi를 다시 flask로부터 돌려받아 띄워주는 것이다.
사실 이 아래 코드만 보면 이게 뭐지 할수도 있을것 같아서 내가 쓴 전 블로그 포스트를 참조해 안드로이드 스튜디오 okhttp 사용법을 익히고 이 코드로 대체해 실험해 보기를 권장한다.
(okhttp): https://joyfulbean.tistory.com/114
OK HTTP 통신
많은 사람들이 frontend로 안드로이드 스튜디오를 처음 접하기 시작한다. 그리고 "서버통신"이라는 단어를 들으면, 겁부터 나기 시작하는것 같다. 오늘은 서버통신이 얼마나 생각보다 간단한지 보
joyfulbean.tistory.com
try {
                            OkHttpClient client = new OkHttpClient();

                            JSONObject jsonInput = new JSONObject();
                            jsonInput.put("id", "hi");
                            jsonInput.put("id2", "hi2");
                            Log.i("test", jsonInput.toString());

                            RequestBody reqBody = RequestBody.create(
                                    MediaType.parse("application/json; charset=utf-8"),
                                    jsonInput.toString()
                            );

                            Request request = new Request.Builder()
                                    .post(reqBody)
                                    .url(urls)
                                    .build();

                            Response responses = null;
                            responses = client.newCall(request).execute();

                            String message = responses.body().string();
                            JSONObject jObject = new JSONObject(message);
                            title = jObject.getString("id");

                            System.out.println("                    " + message);


                        } catch (JSONException e) {
                            e.printStackTrace();
                        } catch (IOException e) {
                            e.printStackTrace();
                        }

                        return title;
                    }
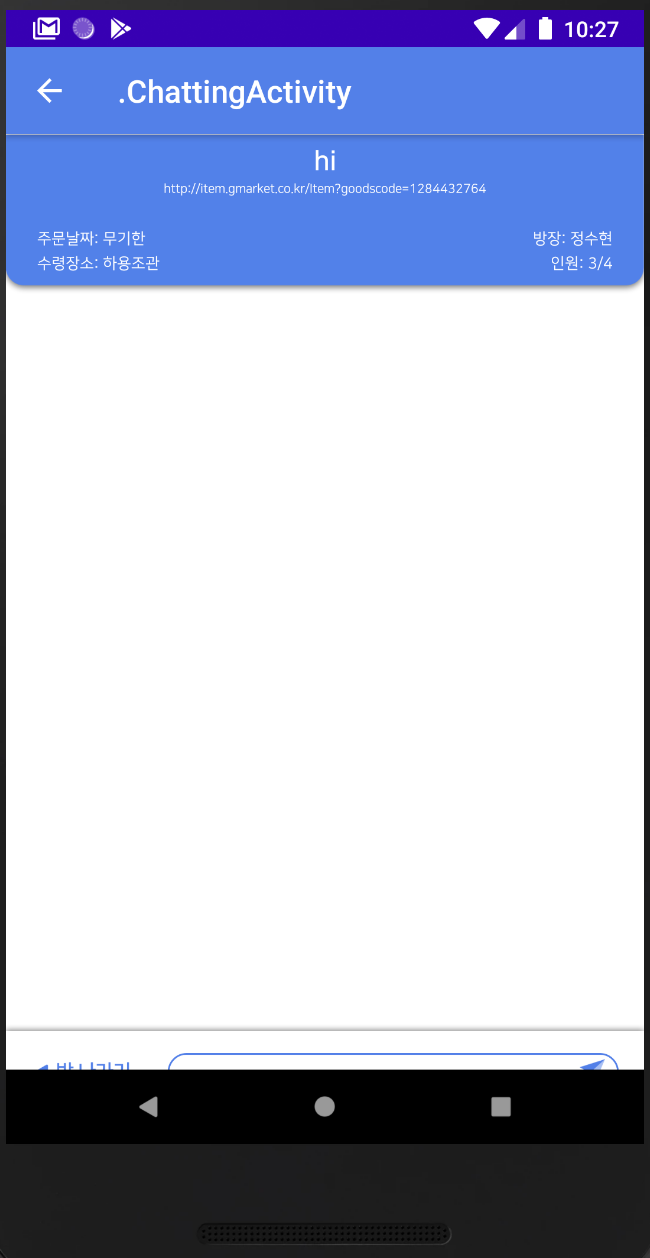
id를 파싱해서 hi만 앱에 띄워주게 만들었다.
'안드로이드 스튜디오' 카테고리의 다른 글
| 안스 디버깅 노트 (0) | 2021.05.11 |
|---|---|
| Backend 레퍼런스 정리 (0) | 2021.05.11 |
| Frontend 레퍼런스 정리 (0) | 2021.05.11 |
| Firebase를 이용한 안드로이드 스튜디오 Chatting (0) | 2020.08.08 |
| OK HTTP 통신 (0) | 2020.07.15 |